 Save to Pinterest
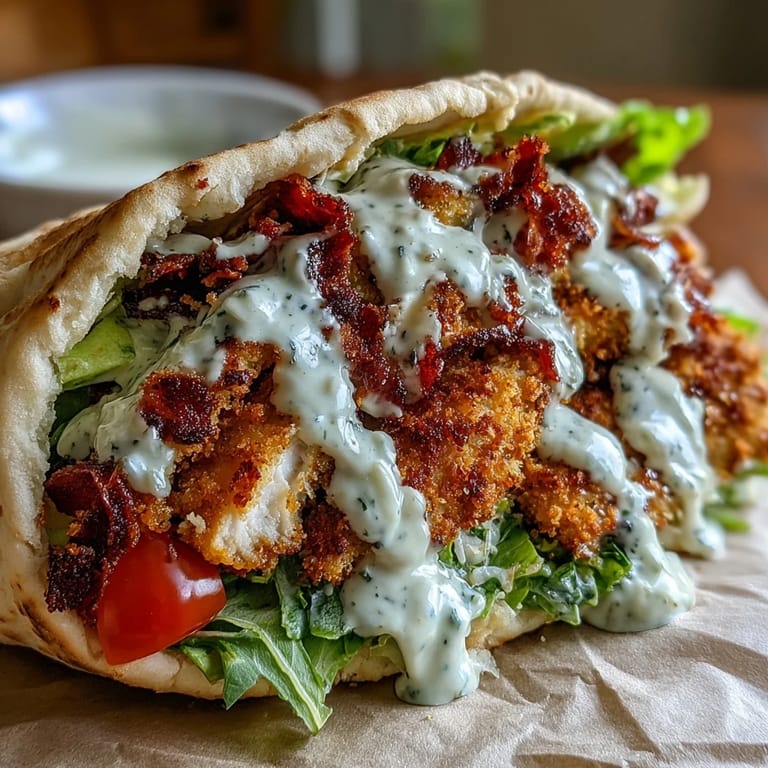
 My coworker brought one of these to lunch last summer, and I watched her devour it in about five minutes flat while barely looking up from her desk. The pita was still steaming, the chicken strips were making that satisfying crunch with each bite, and suddenly I understood why she'd been raving about air fryer meals all week. I went home determined to crack the code, and what I discovered was that this crispy chicken Caesar pita had somehow become my answer to those nights when I wanted something that felt fancy but came together faster than ordering takeout.
The first time I made this for my kids, they were skeptical about the romaine and Parmesan situation, but the moment they bit into those crispy strips tucked into a warm pita, something shifted. They stopped analyzing and just ate, and I got to sit down with my own pita instead of cutting up chicken nuggets and negotiating vegetable bites. That quiet moment of everyone actually enjoying the same meal at the same time felt like a small victory.
Ingredients
- Chicken breasts: Cut them into strips about the width of your finger so they cook evenly and stay juicy inside while the outside gets golden and crispy.
- Buttermilk: This is your secret weapon for tenderness, and if you don't have it on hand, mix regular milk with a splash of lemon juice or vinegar and let it sit for five minutes.
- Panko breadcrumbs: Regular breadcrumbs get dense in an air fryer, but panko stays light and creates that satisfying crunch that makes the whole dish work.
- Parmesan cheese: Grated for the coating, shaved for the salad—they're different textures for different reasons, so don't try to shortcuts this one.
- Garlic powder, paprika, salt, and black pepper: This simple spice blend lets the chicken shine without overwhelming it, though you can absolutely add cayenne if you like heat.
- Cooking spray: A light mist is all you need in the air fryer to get that crispy exterior; overdoing it makes everything greasy.
- Romaine lettuce: Fresh and crisp, chopped into bite-sized pieces so it fits comfortably in the pita without falling apart.
- Caesar dressing: Store-bought works perfectly fine here, but if you have a favorite homemade version, this is your moment to shine.
- Cherry tomatoes: Optional but they add a pop of color and a little burst of acidity that brightens everything.
- Pita breads: Warm them gently so they're soft enough to stuff but still have enough structure to hold everything inside.
Tired of Takeout? 🥡
Get 10 meals you can make faster than delivery arrives. Seriously.
One email. No spam. Unsubscribe anytime.
Instructions
- Soak the chicken in buttermilk:
- Cut your chicken breasts into strips and submerge them in buttermilk, then let them sit in the refrigerator for at least fifteen minutes while you prep everything else. If you have time, two hours is even better because the acid gently breaks down the protein and keeps everything incredibly tender.
- Build your breading station:
- In a shallow bowl, whisk together panko, grated Parmesan, garlic powder, paprika, salt, and black pepper until it looks like golden sand with little flecks of cheese throughout. This is your coating, and pressing it gently onto the chicken is what creates that satisfying crust.
- Coat the chicken:
- Pull each strip from the buttermilk and let the excess drip back into the bowl, then roll it in the breadcrumb mixture, pressing gently on both sides so the coating adheres. Don't skip the gentle pressing—it makes a real difference in how the coating stays on during cooking.
- Arrange in the air fryer:
- Place the coated strips in a single layer in your air fryer basket without overlapping, then give them a light spray of cooking spray. The spray is crucial for crisping, but you only need a thin mist—more spray doesn't equal more crispy.
- Air-fry until golden:
- Cook at 400°F for ten to twelve minutes, stopping halfway through to flip the strips with tongs so they brown evenly on both sides. When they're done, they should be deep golden brown and the chicken inside should be completely cooked through with no pink.
- Prepare the Caesar salad:
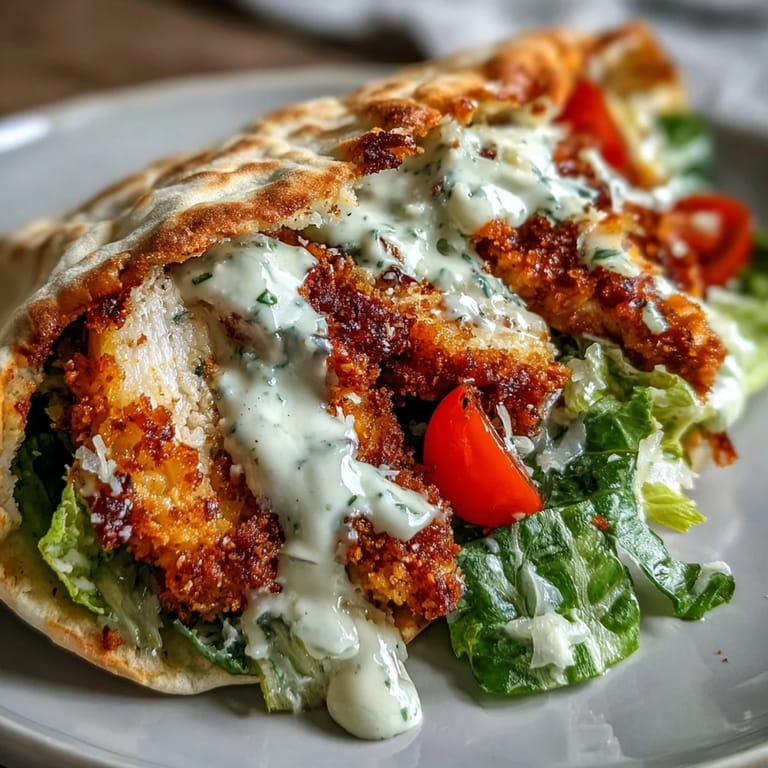
- While the chicken cooks, chop your romaine, halve your cherry tomatoes if using them, and toss everything in a bowl with Caesar dressing and shaved Parmesan. Taste it and add black pepper to your preference—this is your moment to adjust the seasoning to what you actually like.
- Warm the pitas:
- Heat your pita breads in a dry skillet over medium heat for just a minute on each side, or microwave them wrapped in a damp paper towel for thirty seconds until they're soft and warm. Carefully cut them open to form pockets, being mindful of the steam inside.
- Assemble your pitas:
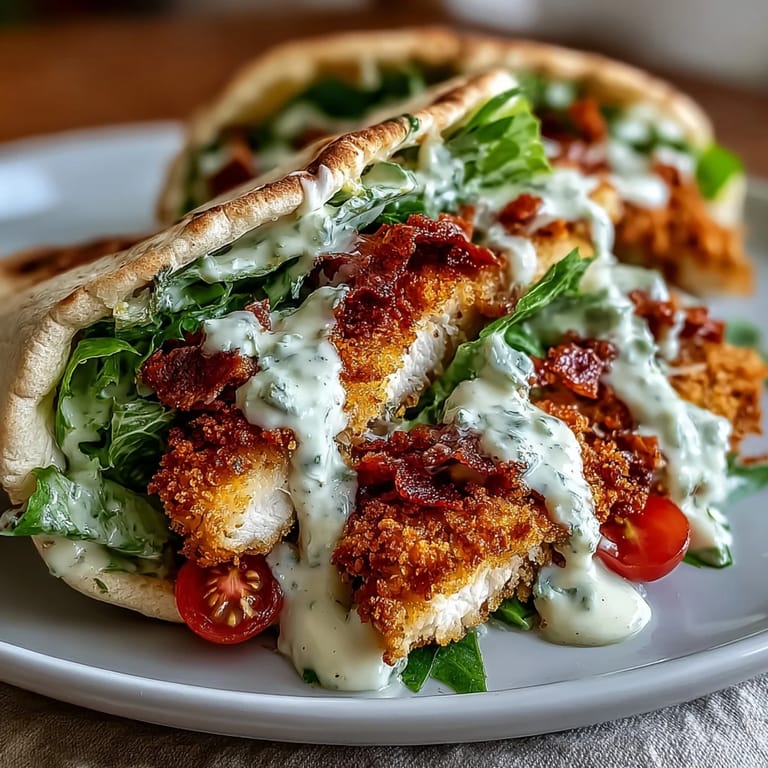
- Stuff each pita with a generous handful of Caesar salad, then tuck two to three crispy chicken strips inside, letting them poke out a bit so you can see what you're getting. Drizzle with extra Caesar dressing and add a squeeze of fresh lemon if you want brightness.
- Serve right away:
- Eat these immediately while the chicken is still crispy and the pita is warm, because they're honestly best enjoyed fresh from the kitchen.
 Save to Pinterest
 My neighbor asked me to make these for a small gathering on her back patio, and I remember standing there with a plate in my hand, watching people I barely knew reach for seconds and actually compliment the food out loud. There's something about a really good handheld meal that just makes people happy in an uncomplicated way.
The Magic of the Air Fryer for This Dish
An air fryer does something special with panko—it creates this incredibly crispy, almost shatteringly crunchy exterior in just minutes, and you don't have to babysit hot oil or deal with splatters. The circulating heat hits the chicken from all angles, so you get that golden color and crispy texture that would normally require deep frying, but with way less mess and significantly fewer calories. I've tried making these in the oven, and while they're still good, they don't have that same satisfying crunch that makes you want to keep eating them.
Customizing Your Pitas
Once you've mastered the basic version, this recipe becomes a playground for whatever you're craving. Some mornings I'll add crispy bacon or a fried egg, other times I'll swap in pesto for Caesar dressing or throw in some sliced avocado and a handful of arugula instead of romaine. The structure is flexible—all you really need is something crispy, something creamy, something fresh, and a warm pita to hold it all together, and you've got a meal that feels like it came from somewhere really good.
Storage and Leftovers
The chicken strips reheat beautifully in the air fryer for about five minutes at 375°F, though they're honestly best eaten fresh. If you need to prep ahead, marinade the chicken the night before and store it in the fridge, then bread and cook it the day you want to serve it. The assembled pitas don't keep well once the dressing hits the lettuce, but you can store everything separately and assemble them to order when people are ready to eat.
- Store breaded raw chicken strips in the fridge for up to twelve hours before cooking, or freeze them for up to a month.
- Keep your Caesar salad components separate until you're ready to assemble, which prevents the lettuce from getting soggy.
- Warm your pitas just before serving so they're soft and pliable enough to stuff without tearing.
 Save to Pinterest
 This pita has become my answer to the question of what's for dinner on nights when I want something that tastes a little bit special but doesn't require actual effort. The combination of crispy, creamy, fresh, and handheld just works every single time.
Recipe Questions & Answers
- → Can I bake the chicken instead of air frying?
Yes, bake at 425°F for 15-20 minutes, flipping halfway until golden and cooked through to 165°F internally.
- → How do I prevent pitas from tearing when stuffing?
Warm pitas first to make them pliable, then carefully cut around the edge to open pockets. Don't overfill—leave room to close comfortably.
- → Can I make this dairy-free?
Substitute buttermilk with dairy-free milk plus vinegar, use vegan Parmesan alternative, and choose a dairy-free Caesar dressing made with cashews or tahini.
- → What sides pair well with these pitas?
Serve with roasted vegetables, Greek salad, potato wedges, or a light soup for a complete meal. Fruit salad balances the savory richness nicely.
- → How long will leftovers keep?
Store assembled pitas wrapped in foil for up to 1 day, though they'll soften. For best results, store components separately—chicken, dressed salad, and pitas—then assemble fresh.