 Save to Pinterest
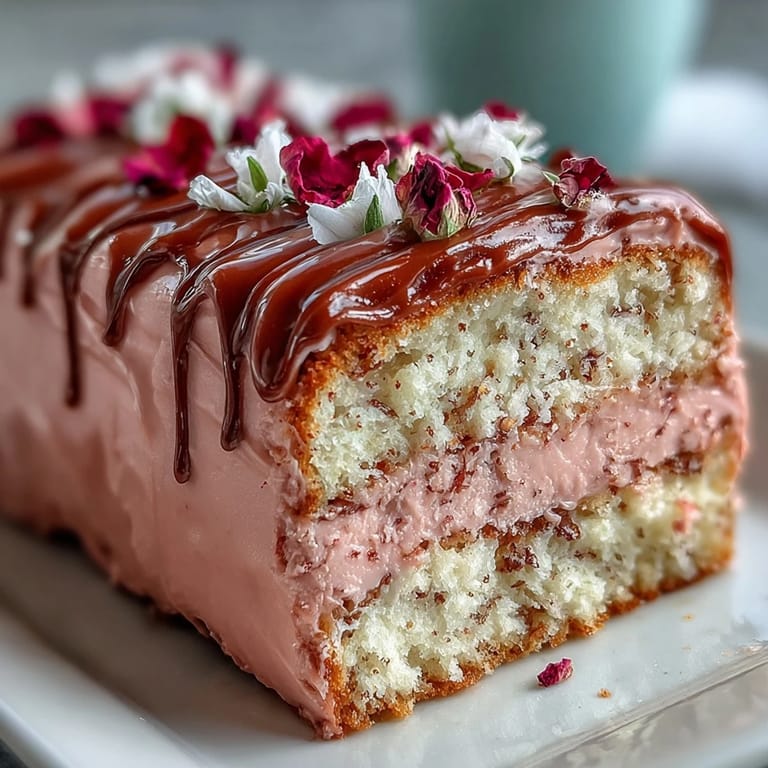
 My sister called me three weeks before her birthday with a specific request: she wanted a cake that looked like spring had landed on a plate. Not the typical grocery store affair, but something tender, something personal, something that tasted as good as it looked. I'd never attempted a three-layer beauty with piped florals before, but her excitement pushed me into the kitchen on a Saturday afternoon when the light hit just right through the windows. That first attempt taught me more than any recipe could about patience, butter temperature, and the quiet magic of watching something you're nervous about actually come together.
When I finally set that finished cake on my sister's table and watched her face light up, I realized something had shifted in my kitchen confidence that day. It wasn't just about the cake anymore; it was about knowing I could take something that felt intimidating and turn it into a moment she'd remember. Her friends took so many photos that afternoon that the cake became almost a secondary character in the story of her birthday. Sometimes the most meaningful recipes are the ones that scare you a little at first.
Ingredients
- All-purpose flour: The backbone of a tender crumb; I learned to measure by weight rather than volume because it makes a real difference in how the cake rises and settles.
- Baking powder: Two and a half teaspoons might seem like a lot, but it's what gives you those tall, cloud-like layers without the cake tasting tinny.
- Unsalted butter: Room temperature is non-negotiable here; cold butter won't incorporate properly and you'll spend extra time beating, which can overwork the batter.
- Granulated sugar: The creaming process with butter is where your cake's tender texture begins, so don't skip the 3 to 4 minutes of beating until it's truly light and fluffy.
- Eggs and milk: Both need to be room temperature so they emulsify smoothly into the batter without causing curdling or dense pockets.
- Pure vanilla extract: The real stuff makes a noticeable difference in the final flavor; imitation extract fades once the cake bakes.
- Powdered sugar for buttercream: Sift it before adding to prevent lumps that can ruin your smooth finish, especially when you're piping delicate flowers.
- Gel food coloring: Gel colors are more concentrated than liquid, so they give you true pastels without thinning out your buttercream consistency.
Tired of Takeout? 🥡
Get 10 meals you can make faster than delivery arrives. Seriously.
One email. No spam. Unsubscribe anytime.
Instructions
- Prepare your pans and preheat:
- Line those three pans carefully with parchment paper so the cakes release cleanly; I learned this the hard way when my first cake stuck and I had to patch it together. Set your oven to 350°F (175°C) and let it fully preheat while you prep everything else.
- Combine dry ingredients:
- Whisk flour, baking powder, and salt together in a medium bowl to distribute the leavening evenly. This step prevents dense spots where the baking powder hasn't mixed through.
- Cream butter and sugar:
- Beat them together on medium-high speed for 3 to 4 minutes until the mixture is pale, fluffy, and noticeably lighter in color; this is when air is being incorporated into the batter. Stop occasionally to scrape down the bowl so everything creams evenly.
- Add eggs one at a time:
- After each egg, beat well for about a minute before adding the next one; rushing this step can result in a grainy, separated batter. Take your time here because it genuinely matters.
- Mix in vanilla:
- Add the vanilla extract and beat until combined, which takes only about 30 seconds.
- Alternate flour and milk:
- Begin with the flour mixture, then add some milk, then more flour, finishing with flour; this sequence prevents overmixing, which would make the cake tough. Stir until you just barely see no flour streaks, then stop.
- Divide and bake:
- Pour the batter evenly among the three pans and smooth the tops with an offset spatula. Bake for 25 to 30 minutes until a toothpick inserted in the center comes out clean or with just a few crumbs clinging to it.
- Cool with patience:
- Let the cakes sit in their pans for 10 minutes so they set slightly, then turn them out onto wire racks to cool completely before frosting. Warm cakes will melt buttercream and create a sliding mess.
- Make the buttercream:
- Beat softened butter until creamy, then gradually add the sifted powdered sugar, milk, vanilla, and salt, beating for 3 to 4 minutes until it's fluffy and smooth. If it feels too stiff, add milk a teaspoon at a time; too soft, add more powdered sugar.
- Tint with color:
- Divide the buttercream into bowls and add gel food coloring drop by drop, stirring until you reach soft pastel shades. A little goes a long way, and you can always add more.
- Layer and crumb coat:
- Place the first cake layer on your serving plate, spread a layer of buttercream on top, then repeat with the second layer and buttercream. Apply a thin crumb coat over the entire cake, which seals in crumbs and creates a clean surface for your final decorative layer.
- Chill the crumb coat:
- Pop the cake into the refrigerator for 20 minutes so the crumb coat sets and won't drag around when you apply your final buttercream layers.
- Decorate with floral designs:
- Fill piping bags with your tinted buttercreams and use various tips to pipe flowers, swirls, or whatever floral patterns make your heart happy. Let your hand relax; imperfection is where charm lives in cake decorating.
- Final chill and serve:
- Refrigerate for 15 to 20 minutes so the buttercream sets before slicing and serving. The cake actually tastes even better after a few hours in the fridge when the flavors have melded.
 Save to Pinterest
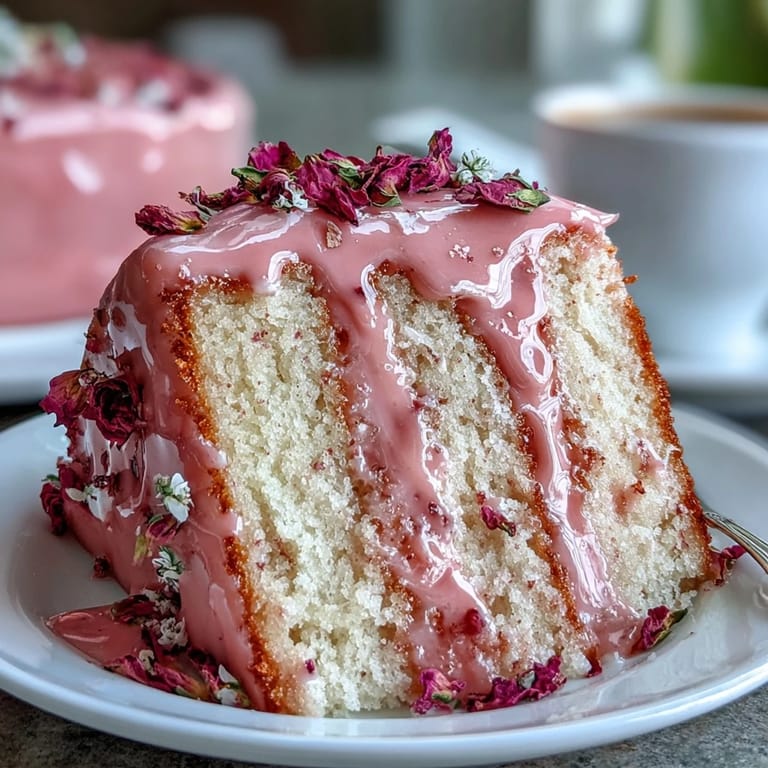
 The real joy of this cake isn't just in eating it; it's in the moment when someone sees it for the first time and their whole face changes. I've made this cake three times now for different occasions, and each time I discover something new about working with buttercream or decorating techniques. There's something deeply satisfying about creating something beautiful that also tastes wonderful.
Flavor Variations to Consider
Once you master the basic vanilla cake, the flavor possibilities expand in every direction. A half teaspoon of almond extract added to the batter creates a subtle nuttiness that pairs beautifully with the pastel aesthetic, while a teaspoon of lemon zest brightens the whole cake and makes it feel more springtime. I've also experimented with adding a quarter teaspoon of cardamom to the batter, which sounds unusual but creates an understated sophistication that guests often can't quite identify but absolutely love.
Decorating With Confidence
The piping bag felt like a foreign object in my hand the first time, but I learned that slower, deliberate movements create better flowers than rushed attempts. Watching video tutorials helped, but honestly, the best teacher was simply doing it imperfectly and realizing that the human eye forgives a lot when something is made with care. You don't need to be a professional baker to make flowers that look intentional; you just need to believe that your version is valid.
Storage and Make-Ahead Magic
This cake genuinely improves over a day or two as the flavors settle and marry together, so there's no need to stress about finishing it the same day you bake it. The unfrosted cake layers keep beautifully in an airtight container for up to three days, or you can wrap them and freeze for up to a month. I usually bake the layers a day ahead, make the buttercream in the morning, and do the decorating in the afternoon, which spreads out the work and keeps the stress manageable.
- Store the finished decorated cake in a cool room or refrigerator, covered loosely with plastic wrap so the buttercream doesn't dry out.
- If you need to transport the cake, keep it in a cool box and avoid placing heavy items on top that might crush the piped flowers.
- Leftover cake stays fresh and tasty for up to five days when stored properly, though it rarely lasts that long in my house.
 Save to Pinterest
 This cake has become my go-to recipe for moments that deserve something special, and I hope it becomes yours too. There's nothing quite like the feeling of creating something beautiful and delicious that brings joy to people you care about.
Recipe Questions & Answers
- → What ingredients give the cake a tender texture?
The combination of all-purpose flour, room-temperature butter, eggs, and whole milk contributes to the cake's tender crumb and moist texture.
- → How do you achieve the pastel colors in the buttercream?
Gel food coloring in shades like pink, yellow, lavender, green, and blue is gradually added to the vanilla buttercream to create soft pastel tones.
- → Can the cake be made in fewer pans?
Yes, if you have only two 8-inch pans, bake the batter in batches, cooling each layer before adding the next.
- → What tools are recommended for decorating the buttercream flowers?
Using piping bags fitted with assorted tips and an offset spatula helps create detailed floral designs with the pastel buttercream.
- → Are there any allergen considerations?
The cake contains wheat, eggs, and dairy. Some food colorings or decorations might have traces of nuts, so check labels if allergies are a concern.
- → How long should the cake chill after applying the crumb coat?
Chill the cake for about 20 minutes after applying the thin crumb coat to set before decorating with floral buttercream.