 Save to Pinterest
 My neighbor Karen showed up at my door with a box of these tiny cheesecakes the day after I moved in, and I'll admit I was skeptical about bite-sized desserts until I ate three in a row without thinking. There's something about the way the buttery crust gives way to that creamy center that just works, especially when you're standing in a half-unpacked kitchen wondering if you made a terrible mistake moving to a new place. She told me later that she made them for every housewarming she'd ever attended, and now I understand why nobody ever leaves early.
I made these for my book club last month, and someone actually asked for the recipe before dessert was even finished, which had never happened before in the history of my terrible baking attempts. My friend Marcus said they were "dangerously good," and then he ate six of them while pretending to look through my bookshelf. That moment when someone goes quiet and just keeps reaching for another one is when you know you've made something worth making again.
Ingredients
- Graham cracker crumbs: Use ones without honey if you want them to feel fancy, though honestly the honey ones taste better and nobody judges in a kitchen.
- Granulated sugar: This is the texture that keeps the crust from being gritty, so don't try brown sugar even though you'll be tempted.
- Unsalted butter, melted: Melted means you don't have to warm up a mixer, which saves dishes and time.
- Cream cheese, softened: Leave it out on the counter for 30 minutes before you start, because cold cream cheese creates lumps that no amount of beating fixes.
- Eggs: Add them slowly and let each one fully incorporate, or your filling will look weirdly separated and still taste fine but feel wrong.
- Sour cream: This is the secret that keeps them from tasting like a dense cheesecake brick and makes them taste almost light.
- Vanilla extract: Don't skip this because it's the thing that makes people say they taste like a real dessert and not just sweetened cream cheese.
- All-purpose flour: Just a tablespoon prevents the filling from cracking on top, which is the difference between pretty and "I tried."
- Salt: A tiny pinch makes everything taste more like itself instead of vaguely sweet.
Tired of Takeout? 🥡
Get 10 meals you can make faster than delivery arrives. Seriously.
One email. No spam. Unsubscribe anytime.
Instructions
- Heat your oven and prep your tin:
- Set everything to 325°F because higher heat will cook the outside before the inside sets, and you'll end up with cracked tops. Line those muffin cups while the oven preheats so you're not rushing.
- Build the crust:
- Mix the graham cracker crumbs, sugar, and melted butter until it looks like wet sand, then press about a teaspoon of it firmly into each liner. The firmness matters more than you'd think because a loose crust will float up into your cheesecake filling.
- Start the filling:
- Beat the cream cheese until it's completely smooth and there are no little lumps hiding in there, then gradually add the sugar while mixing. This step takes longer than you think it should, but rushing it means texture problems later.
- Add the eggs carefully:
- Drop in one egg, let it fully disappear into the mixture, then add the next one and repeat. This prevents the filling from looking curdled and keeps everything silky.
- Finish the filling:
- Stir in the sour cream, vanilla, flour, and salt just until combined, which means stop mixing as soon as you don't see streaks anymore. Overmixing introduces air bubbles that cause cracks.
- Fill the cups:
- Spoon or pipe the filling over the crusts until each cup is almost full, leaving just a hair of space at the top. They'll puff slightly and you don't want them to overflow.
- Bake with patience:
- Bake for 18 to 20 minutes until the centers jiggle just slightly when you gently shake the pan, which means they're cooked through but still creamy inside. A fully set cheesecake is an overcooked cheesecake.
- Cool gradually:
- Leave them in the pan for 15 minutes after you pull them from the oven so they don't crack from temperature shock, then move them to a wire rack. This slow cooldown is what keeps them from looking damaged.
- Chill before serving:
- Refrigerate for at least an hour, though overnight is even better because the flavors settle and they firm up just enough to pick up easily. Cold cheesecake is the only cheesecake.
 Save to Pinterest
 My mom watched me make these last summer and got this look on her face like she was seeing her younger self trying and failing at fancy desserts, and then she hugged me in the middle of my kitchen. That's when I realized these little cheesecakes aren't really about impressing people at parties, they're about proving to yourself that you can make something beautiful and delicious and not have it fall apart.
Toppings That Actually Matter
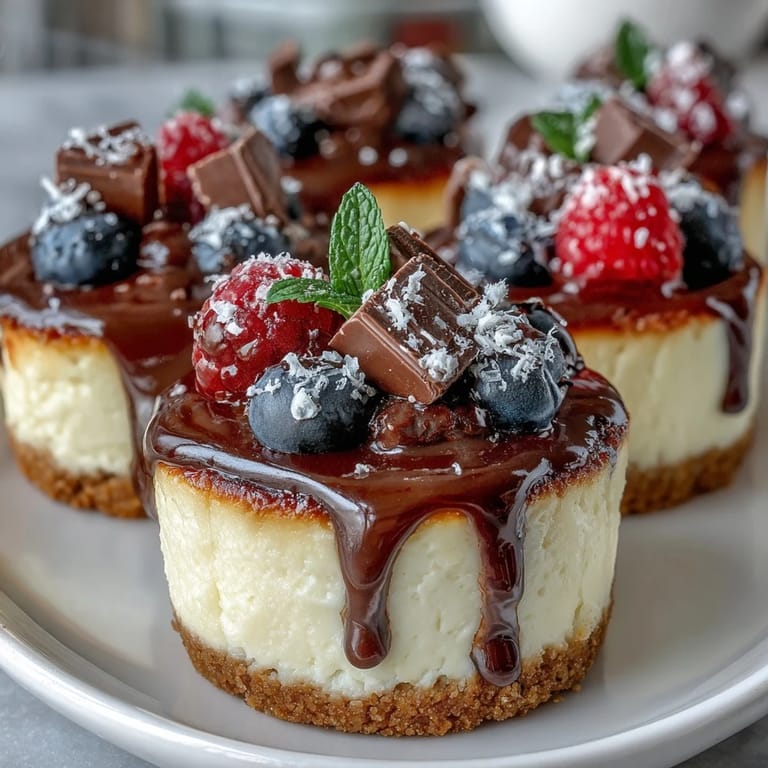
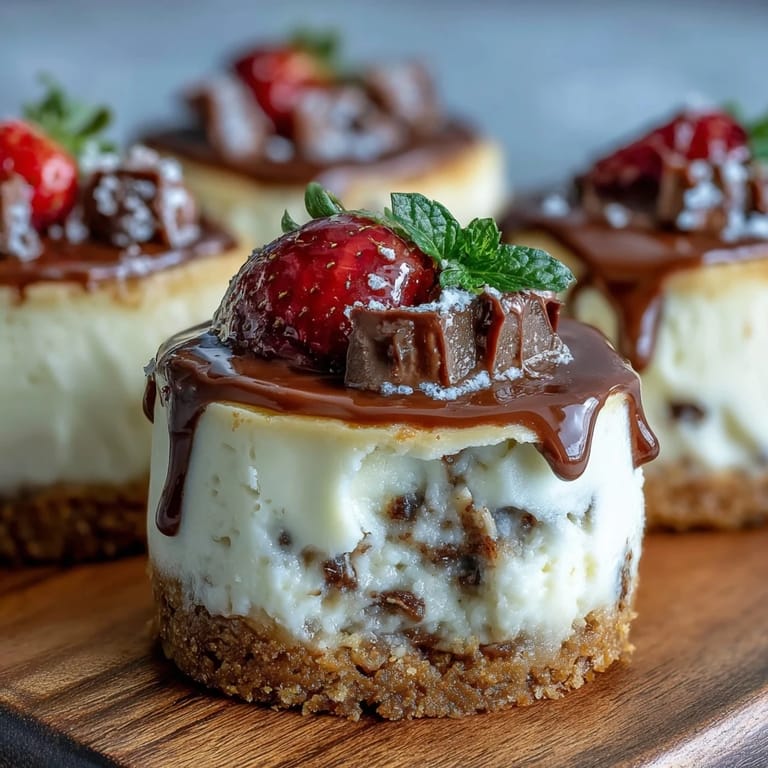
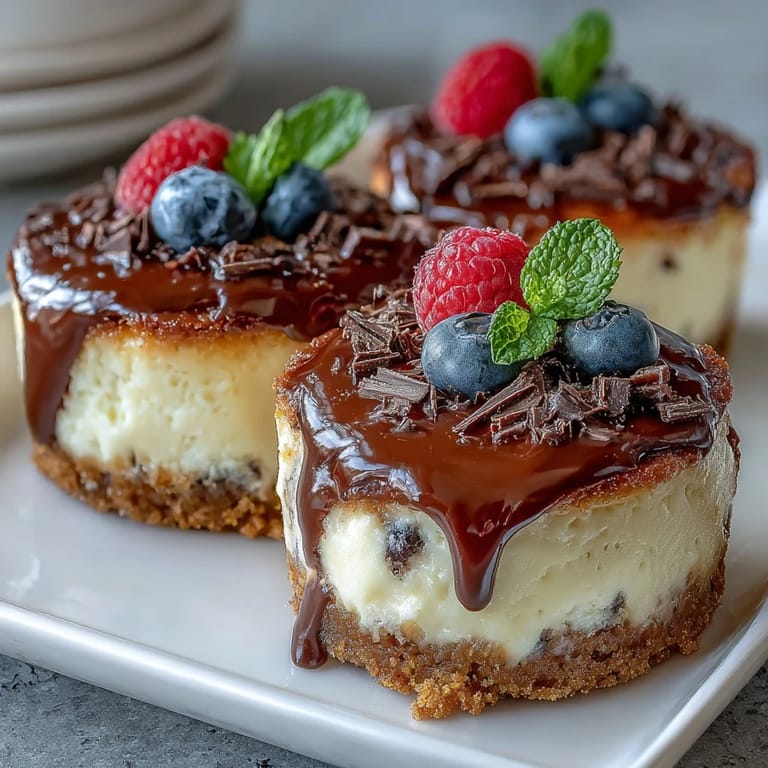
The magic happens in the last two minutes when you add toppings, so don't just plop berries on there without thinking about what you're doing. Fresh berries feel elegant and taste bright against the rich filling, fruit preserves look like you went to culinary school, and whipped cream makes everything feel like a celebration. Chocolate shavings work if you're trying to impress people who think chocolate fixes everything, which honestly it kind of does.
Making Ahead and Storage
These cheesecakes actually taste better the next day because the flavors have time to get comfortable with each other, so make them the afternoon before your event if you can. They'll keep in an airtight container in the refrigerator for three days, though they never last that long in my house. If you want to get fancy, you can freeze them for up to two weeks before adding toppings, which is a lifesaver for someone like me who forgets to plan desserts.
Flavor Variations to Explore
Once you nail the basic recipe, you'll start wondering what else you can add to the filling, and the answer is honestly almost anything you want as long as you keep it balanced. Lemon zest makes them taste like spring, a swirl of pumpkin puree turns them into fall, and a tiny bit of almond extract gives them an almost macaroon vibe. Don't overthink it though because the simple version with fresh berries on top is already perfect.
- Add a teaspoon of lemon zest to the filling for a citrusy brightness that feels unexpected.
- Swirl a tablespoon of fruit preserves into the filling before baking for a ripple effect that looks intentional.
- Top with a small spoonful of jam and a berry right before serving instead of mixing it into the filling.
 Save to Pinterest
 These mini cheesecakes have become my signature dessert because they're small enough that people feel like they can eat two, and they're good enough that people actually want to. Make them and watch what happens when someone bites into that crust and finds creamy richness waiting underneath.
Recipe Questions & Answers
- → What type of crust is used in these mini cheesecakes?
A crisp graham cracker crust made from graham cracker crumbs, sugar, and melted butter forms the base of these cheesecakes.
- → Can these mini cheesecakes be prepared in advance?
Yes, they can be made a day ahead and stored in the refrigerator to maintain freshness and texture.
- → Are there any suggested toppings for these cheesecakes?
Optional toppings include fresh berries, fruit preserves, whipped cream, or chocolate shavings for added flavor and decoration.
- → Is it possible to make a gluten-free version?
Yes, substituting gluten-free graham crackers and flour allows for a gluten-free adaptation.
- → How long should the mini cheesecakes chill before serving?
Chilling in the refrigerator for at least one hour ensures the centers are fully set and ready to enjoy.