 Save to Pinterest
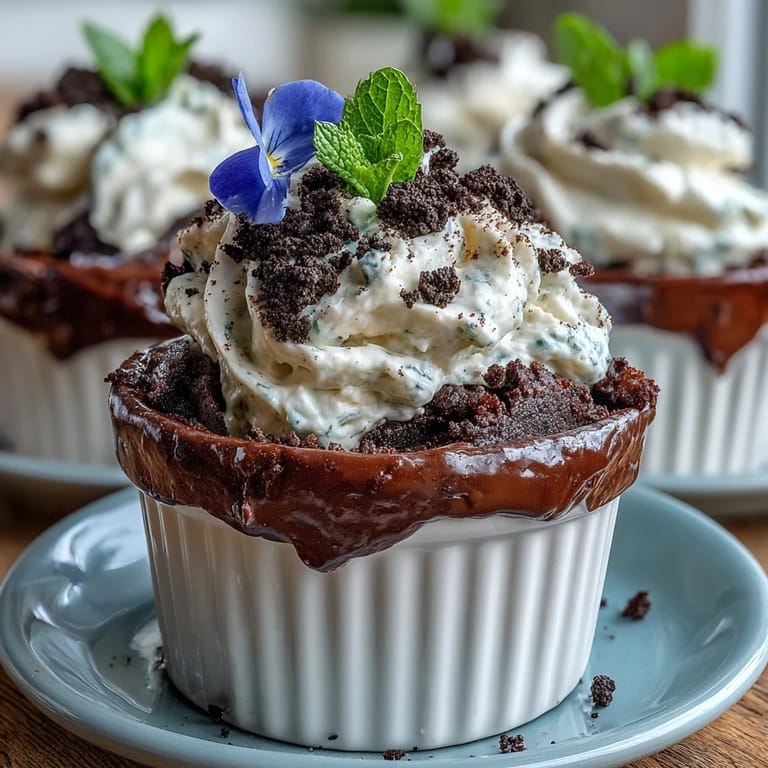
 The sound of Oreos crunching under my rolling pin still makes me laugh—who knew prepping dessert could double as stress relief? When I made these flower pot brownies for Mother's Day, the kitchen filled with chocolatey warmth and gentle hums from my old mixer. The real magic happened in those quiet in-between moments, when I sneak-sampled whipped cream and admired tiny edible flowers waiting to bloom atop each pot. There's just something about edible 'dirt' that sparks curiosity, no matter your age. This dish isn't just a treat—it's a miniature celebration you can hold in your hands.
Last spring, my niece and I made these together, giggling as we pressed gummy worms halfway into the Oreo soil and secretly judged whose looked squishier. She insisted her pot had "the prettiest garden," and honestly, I had to agree. Watching her beam when we brought them, still chilled, to the Mother's Day brunch table made the work totally worthwhile. I still have pictures somewhere of us sneaking mint leaves when we thought no one was looking. There's a certain shared pride in decorating a dessert that looks as joyful as it tastes.
Ingredients
- Unsalted butter: Rich butter creates the brownies' fudgy base—melt it gently to avoid burning.
- Granulated sugar: The right sweetness brings out the chocolate flavor; whisk it in off the heat for smooth batter.
- Large eggs: Add one at a time for that signature glossy texture—crack carefully into a separate bowl to avoid shell mishaps.
- All-purpose flour: Just enough to hold things together without getting cakey.
- Unsweetened cocoa powder: Use a good-quality powder; sifting prevents sneaky lumps.
- Baking powder: Gives the brownies a gentle lift while keeping them dense.
- Salt: Tiny but mighty—balances the chocolate with subtle depth.
- Vanilla extract: Always worth using real extract for a floral touch that echoes the decorations.
- Oreo cookies: Processing with filling ensures the 'dirt' sticks together; a rolling pin gets you that rustic crumb if you prefer it hands-on.
- Heavy cream: Whips into clouds—chill your bowl and beaters for the best results.
- Powdered sugar: Dissolves smoothly into the whipped cream; sifting avoids surprise clumps.
- Edible flowers or colorful gummies: Let your creativity (and your stash) shine—they're the crown jewel of each pot.
- Fresh mint leaves (optional): Adds a pop of color and a fresh aroma—just pluck right before serving for best effect.
Tired of Takeout? 🥡
Get 10 meals you can make faster than delivery arrives. Seriously.
One email. No spam. Unsubscribe anytime.
Instructions
- Heat things up:
- Preheat your oven to 175°C (350°F), and line mini flower pots with parchment circles if using—trust me, this saves you from stuck brownies later.
- Start the fudge factor:
- On low heat, melt butter gently in a saucepan—when it’s liquid gold, whisk in the sugar and vanilla until glossy and thick.
- Eggs in action:
- Add your eggs one by one, whisking patiently; listen for the change as the batter goes from loose to velvet-smooth.
- Flutter in the dry mix:
- Sift together the flour, cocoa, baking powder, and salt—fold gently into the wet mixture; the aroma when cocoa hits the bowl always means dessert is near.
- Time to pour:
- Scoop batter evenly into your prepared flower pots or baking pan; scrape the bowl with a spatula so nothing delicious is left behind.
- Bake and cool:
- Bake for 20–25 minutes until a toothpick comes out with moist crumbs—impatience is natural here, but let them cool fully for best assembly.
- Make edible 'soil':
- Crush Oreos in a food processor or bash in a bag with a rolling pin; get the crumbs as fine or rustic as you like.
- Whip up the cream:
- Beat cold heavy cream and powdered sugar to stiff peaks—watch for that satisfying swoop when you lift the beaters.
- Shape your pots:
- If using a tray, cut brownies to fit neatly in each pot—snacking on the edges is strongly encouraged.
- Layer the fun:
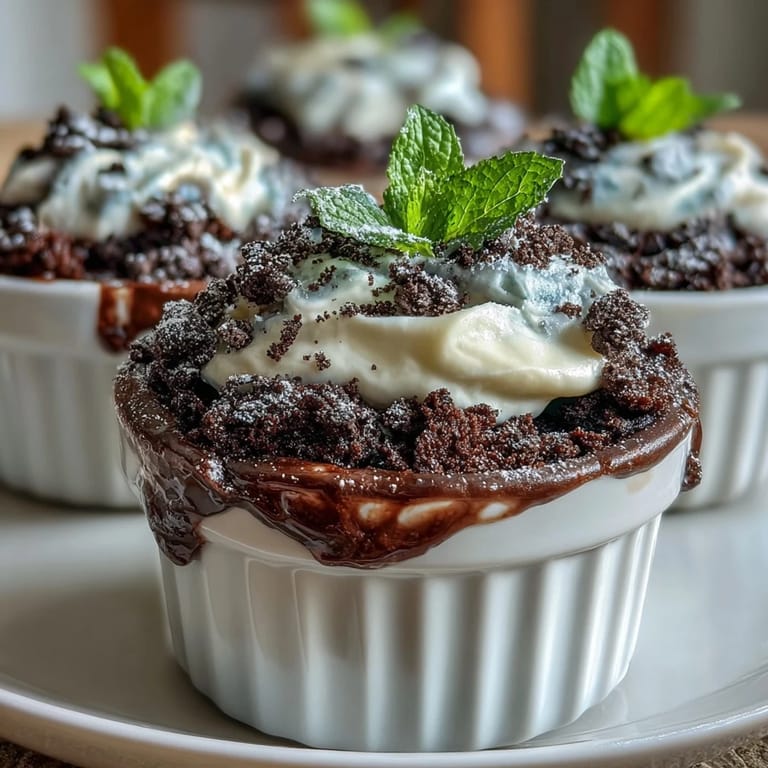
- Spread whipped cream thickly over each brownie, then rain down Oreo crumbs until it looks properly earthy.
- Garden time:
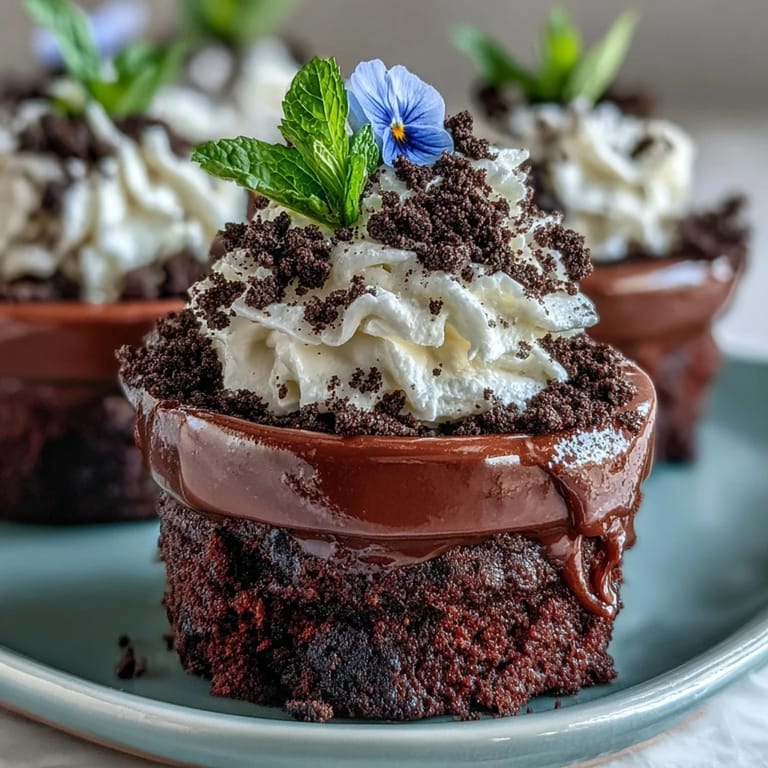
- Decorate with edible flowers, vibrant gummies, or mint leaves for a whimsical finish; arranging them can get delightfully competitive.
- Chill and serve:
- Let the pots rest in the fridge until serving—nothing beats the cool surprise of biting into edible dirt on a sunny day.
 Save to Pinterest
 The best moment was watching my mom break through the 'soil' with her spoon and laugh at how real it looked—everyone quietly hoped for seconds. That’s when dessert felt like a shared celebration of creativity and care, with chocolate smudges and all.
Getting Creative with Flowers and 'Soil'
I used to be nervous about edible flowers, but seeing violets and pansies brighten up the dessert made me a convert. A mix of textures—smooth cream, crunchy cookies, floral or fruity decorations—turns each pot into a personal masterpiece. Kids and adults both love the 'garden' reveal, and no two pots ever look the same. Even swapping in crushed pretzels or chopped nuts for the 'soil' has worked in a pinch. It's amazing how forgiving these brownies can be when you lean into playful decorating.
Mini Flower Pots or Ramekins?
My favorite presentation is always in ceramic mini pots, but ramekins work beautifully if that’s what you have. To make sure brownies don’t get stuck, parchment on the bottom is a must—learned that after one dramatic upside-down pop that left half the treat behind. The right vessel makes the dessert feel extra personal, and single servings mean everyone gets their own little garden. If you can grab a set at the craft or discount store, they’ll be the surprise hit of your next party. Just double-check that your pots are oven-safe before baking, or line up those ramekins for a safer bet.
Troubleshooting and Make-Ahead Tips
I’ve learned the hard way that baking the brownies a day ahead makes for even easier assembly—just store them well-wrapped. If the whipped cream decides to deflate, a quick re-whip with a chilled bowl brings it right back to life. Oreo crumbs can be prepped in advance and hidden away from snackers (out of sight, out of mind, right). Sometimes the simplest fixes save the day and make things smoother for next time.
- Let brownies cool completely before layering.
- Decorate just before serving for the freshest look.
- Keep a couple extra edible flowers on hand for last-minute touch-ups.
 Save to Pinterest
 Making these brownies always brings a bit of cheer and a touch of whimsy to any table. Here's to edible flowers, shared mischief, and desserts that look as joyful as the people who make them.
Recipe Questions & Answers
- → How do I prevent brownies from sticking to mini pots?
Line the bottoms with parchment or lightly butter and flour the pots. Allow brownies to cool fully before turning out; chilled brownies hold their shape better when removed from molds.
- → Can I make the Oreo crumbs ahead of time?
Yes. Crush Oreos and store the crumbs in an airtight container at room temperature for up to 3 days to keep them crisp. Re-stir before using to break up any clumps.
- → What’s the best way to get stiff peaks for the whipped cream?
Use cold heavy cream and a chilled bowl. Start whisking at medium speed and increase to high until peaks form. Avoid overwhipping or the cream will become grainy and start to separate.
- → Are there good substitutions for Oreos?
Crushed chocolate sandwich cookies are the closest match. For varied texture or flavor, try crushed chocolate graham crackers, cocoa-dusted cookie crumbs, or finely chopped toasted nuts mixed with a bit of cocoa.
- → How far in advance can I assemble these?
Assemble up to a few hours ahead and keep chilled in the refrigerator. Add delicate edible flowers just before serving to preserve their appearance and freshness.
- → Can I use a boxed brownie mix?
Yes. A boxed mix works well for convenience—follow package instructions, then bake in pots or a tray and proceed with whipped cream and Oreo topping as directed.